What is the right Canva thumbnail workflow for YouTube? Start from the script, not the edit. Generate concepts from your video's cold open, build three variants in Canva at 1280×720, and check them at phone size before committing. A Canva thumbnail workflow that begins after the video is finished produces thumbnails that describe the video instead of promising something, and description does not get clicked.
The thumbnail-last problem
Here is the sequence almost everyone uses: write, record, edit, export, and then (with the video finished and the upload dialogue open) make a thumbnail.
By that point you are summarising. You have the whole video in your head, so you produce an image that represents it accurately. Accuracy is not the job. The thumbnail's job is to make a promise specific enough that a stranger wants it resolved, and promises are made at the beginning of a creative process, not at the end of one.
That is the entire argument for restructuring your Canva thumbnail workflow around the script.
The hook-first principle
Your cold open and your thumbnail are the same idea in two media. Both have about two seconds. Both are aimed at someone who does not know you and owes you nothing.
Which gives you a genuinely useful diagnostic: if you cannot turn your hook into a thumbnail, your hook is weak. Not "your thumbnail skills are weak": the hook. A hook that resists visualisation is usually abstract, and abstract openings are the single most common reason a video loses people before 0:30.
Test it before you record. It costs five minutes and occasionally saves a whole production day.
The step-by-step workflow
Step 1: Extract the promise from the script
Take your script's first 15 seconds and write down, in one sentence, what the viewer is being promised. Not the topic. The promise. "Budgeting apps" is a topic. "The reason your budgeting app stopped working after week three" is a promise.
Step 2: Generate concepts from that promise
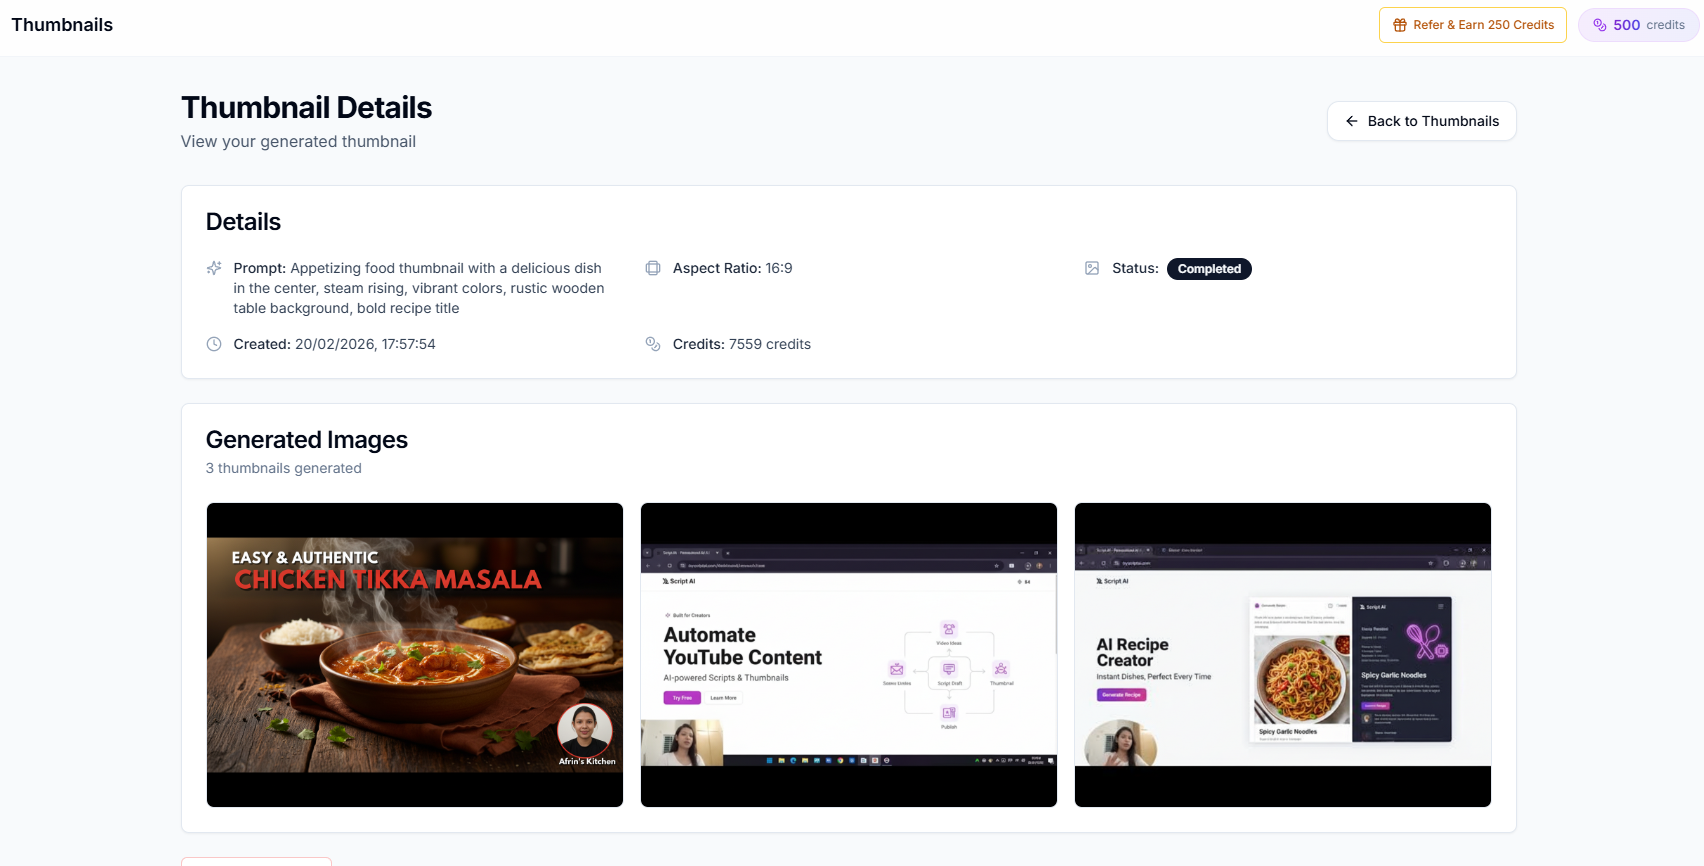
Run the hook through Creator AI's thumbnail generation. Because the concept comes from the same voice profile and the same script, you get options that are about the promise rather than about the subject matter. Pick two or three directions worth building.
Step 3: Bring the concept and the brief into Canva
Download the concept and write two lines of brief alongside it: the promise, and the three words you want legible at phone size. This is the handoff point in the canva thumbnail workflow, and it is where most people lose the thread by opening a blank Canva template instead.
Step 4: Build to spec
The specs that matter, per YouTube's own thumbnail documentation:
- 1280×720 pixels, 16:9, under 2 MB, JPG/PNG/GIF/WEBP.
- Three words maximum of overlay text. Four if one of them is "the".
- Text at least 90px in the 1280-wide canvas, or it disappears at phone scale.
- Face occupying 25 to 40% of the frame if a face is present, with the eyes on the upper third.
- High contrast between subject and background. Not colour variety. Contrast.
- Keep the bottom-right corner clear. YouTube stamps the timestamp there.
Step 5: The three-variant rule
Build three. Export all three. Put them on your phone, at actual size, next to your last ten uploads.
Two things become obvious immediately: which one still reads at 210 pixels wide, and whether any of them look like they belong to the same channel as the rest of your grid. Both questions are invisible on a desktop monitor at 100% zoom.
Step 6: Publish, then check at 48 hours
Read CTR against your own median rather than against a benchmark from a blog. If it is below your median, the packaging failed; if CTR is fine and retention collapses at 0:20, the thumbnail overpromised, which is now actively worse than a modest CTR.
Canva thumbnail workflow settings that actually matter
A short reference block, because these are the ones people get wrong:
| Setting | Value | Why |
|---|---|---|
| Canvas | 1280×720 | YouTube's spec; Canva has the preset |
| Export | JPG at high quality, or PNG for flat graphics | Under the 2 MB ceiling |
| Safe zone | Keep text out of the bottom-right ~15% | Timestamp overlay |
| Minimum text size | ~90px | Phone legibility |
| Contrast check | Squint at it, or blur it | If the subject vanishes, so does the click |
Free vs Canva Pro
Free covers layout, text, shapes, export, and the correct canvas size. That is the whole workflow for most people.
Pro earns its money on exactly three things: the background remover (which saves real minutes per thumbnail), brand kits (which is how a channel's thumbnails stay recognisable across fifty videos), and instant resize (useful if you repurpose the same art for Shorts covers or community posts). Nothing else in Pro changes your CTR.
Building a channel template system
Once three thumbnails have worked, stop starting from scratch.
Save a Canva template with your fixed elements: the text position, the font, the two brand colours, the border treatment. Then only the subject and the three words change per video. This does two things: it halves the time per thumbnail, and it makes your grid recognisable, which matters more than any individual thumbnail does.
Pair that template with the voice profile driving your scripts and the canva thumbnail workflow becomes genuinely repeatable: same voice in the writing, same visual grammar in the packaging, one decision per video instead of ten.
Common failures
- Too much text. Three words. This is the most common and most fixable error.
- Low mobile contrast. It looked fine on your monitor because your monitor is enormous.
- Faces too small. A face at 10% of the frame is a person-shaped smudge at 210 pixels.
- Inconsistent style. Every video looking different means viewers never learn to recognise you in a feed.
- Describing instead of promising. The one this whole article exists to fix.
We covered the CTR consequences of each in 5 thumbnail mistakes killing your CTR, and the tool comparison in best AI thumbnail maker tools.
The 30-minute version
Script hook extracted (2 min) → concepts generated (3 min) → three variants built in Canva (15 min) → phone check (2 min) → export and upload (5 min).
That is a canva thumbnail workflow you can run every week without dreading it, and the reason it fits in half an hour is that the hard decision (what the thumbnail promises) was already made when you wrote the hook. Start free and generate the concepts from your next script.
Keep Reading
- 5 Thumbnail Mistakes Killing Your CTR
- Best AI Thumbnail Generator for YouTube Creators
- How to Write YouTube Scripts That Get More Views
- Generate the thumbnail from the hook, not the edit, start free or see plans.